

Linda shaired her teqnique for sculpting a head , face and Hair from paper clay .Even though this was not my first Clay over cloth Doll ,I still picked up many fantastic sculpting tips and tricks from Linda .Making Hair From paper clay was so much fun and a first for me . Linda had this cool little tool with a brass swirl on the tip she suggested I try it , I pressed it into the individual tufts of hair to create Texture WOW I loved it !
The dolls dryed while we played at Altering Fabric with Rubber stamps .clorox bleach pens ,freemotion sewing and fabric paints .We also created funkie little birds from the paper clay and a small styrofoam egg ( more of that in part three )..
At the end of day one we All went to a local dinner for a bite to eat and more chatting ..Bushed from a fun creative day we said good night and headded back to our Hotel room for a good nights sleep...ahhhhh
On day two we did a little sanding and the dolls were ready for paint ...So Exciting This is what I paid for!! Learing Lindas painting style or as much as I could in a day... LOL.. It was so much fun painting the whole doll top to bottom with BLACK gesso .We then used a dry brush method to apply the flesh tone of our choice , The next step was to apply washes for shadeing and highlights .I love the Retro feel it gave to My doll .For her face I used a combination of Acrylic paint , sparkling H2O water color, chalks and Gel pens. I also gave her several coats of mat spray by duncan, befor her lips and eyes were glossed with Triple Thick Gloss medium
I used acrylic craft paint in a vintage golden tone for her hair color, I painted it on ,then gently rubbed it off with a paper towel to expose the texture swirls in the hair, a little cream paint on the tips gave the hair just the little extra something it needed . After the paint dryed I applied 2 coats of Triple Thick Gloss medium for a high shine.

Peace and love Heather
P.S please excuse any and all spelling mistakes for some reason the spell check on Blog spot seems not to be working...
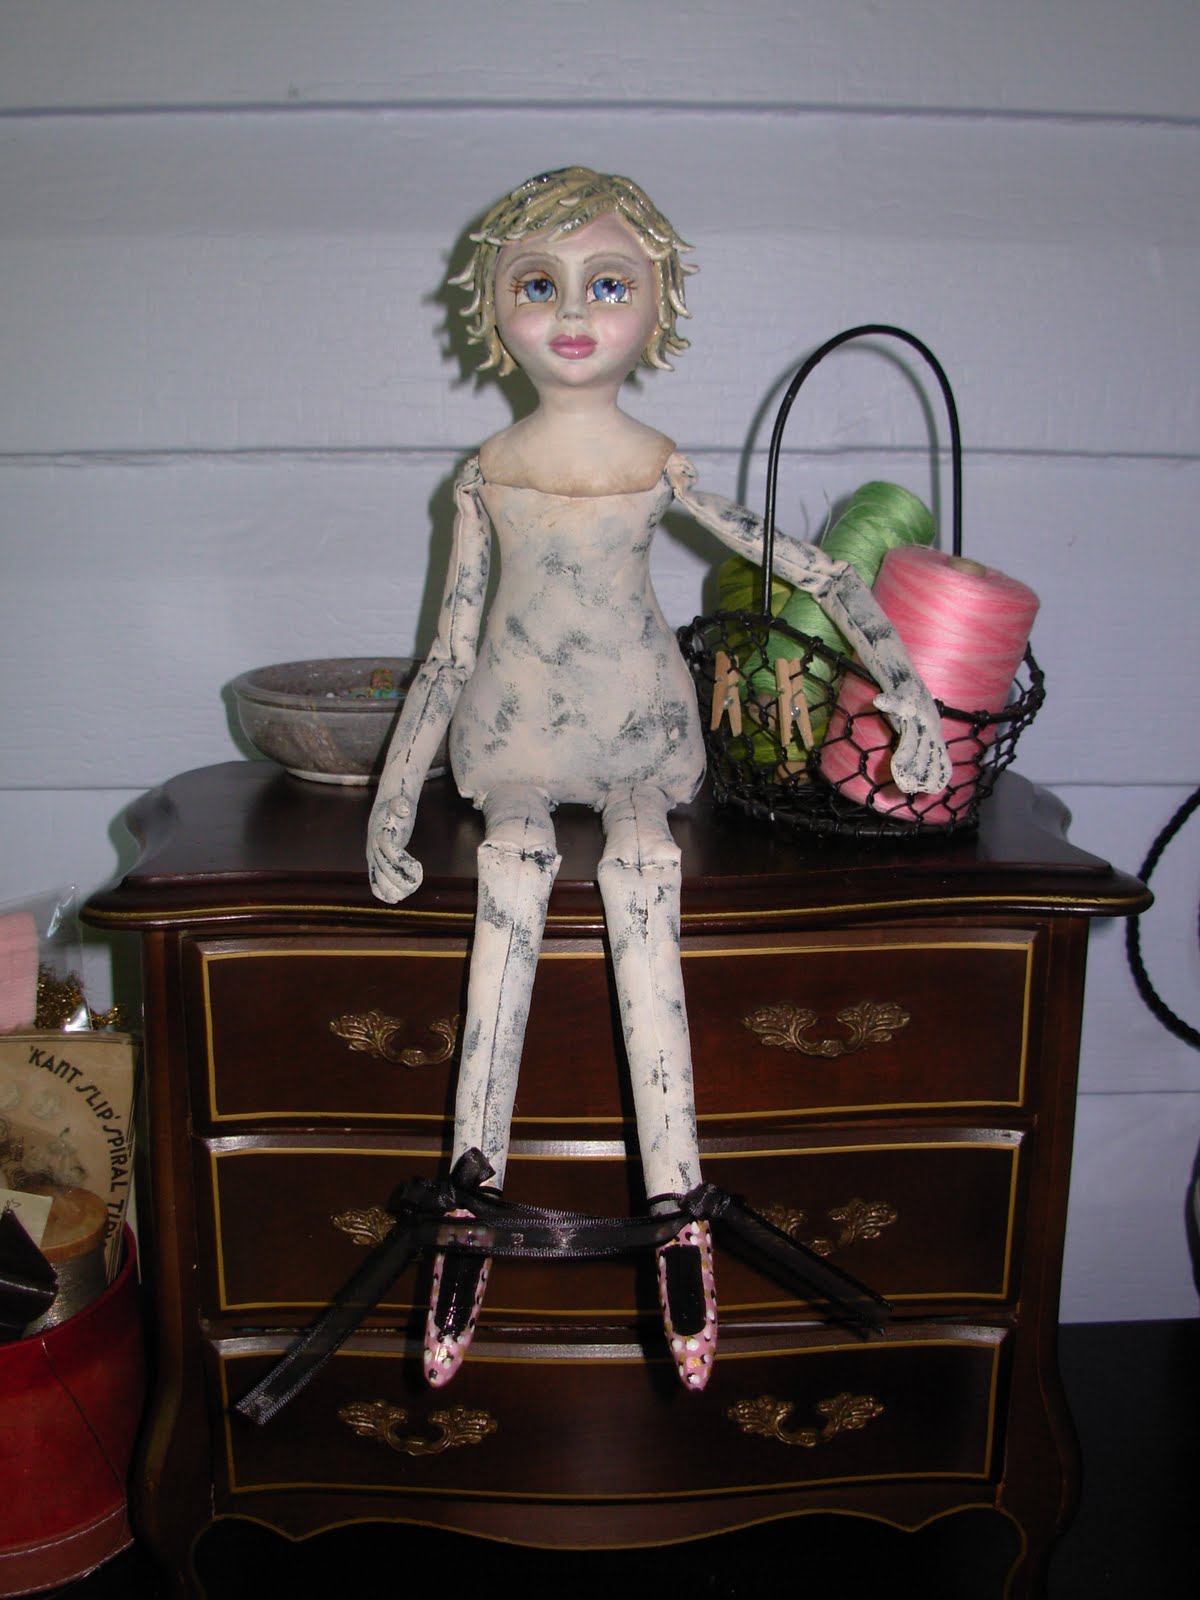 |
| I started her shoes painted them with tiny dots of craft acrylic paint .in pink, black, cream and gold " I think they look like confetti" then I glossed them up with 2 coats of triple thick . |
3 comments:
Hi Heather! I love the idea of painting her with black gesso and then painting over that. It makes the colors pop and gives her a vintage look all at once! When I saw this doll in person, I was so inspired to RUN home and start sculpting doll heads!
Heather she is looking great! Can't wait to see her dress. I think we saw a preview on FB? She is going to be pretty in pink! Stephanie
I love this doll:) Her face is beautiful. I'm kinda taking a break.....but you inspire me to get back to work:) Have a great week:)
Post a Comment